
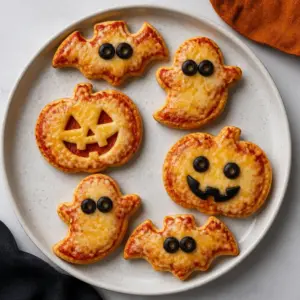
These Halloween mini pizzas are small, crisp-edged rounds topped with bright pizza sauce and playful cheese jack-o’-lantern cutouts — a mix of stretchy mozzarella and Colby that melts without losing its shape when handled correctly.
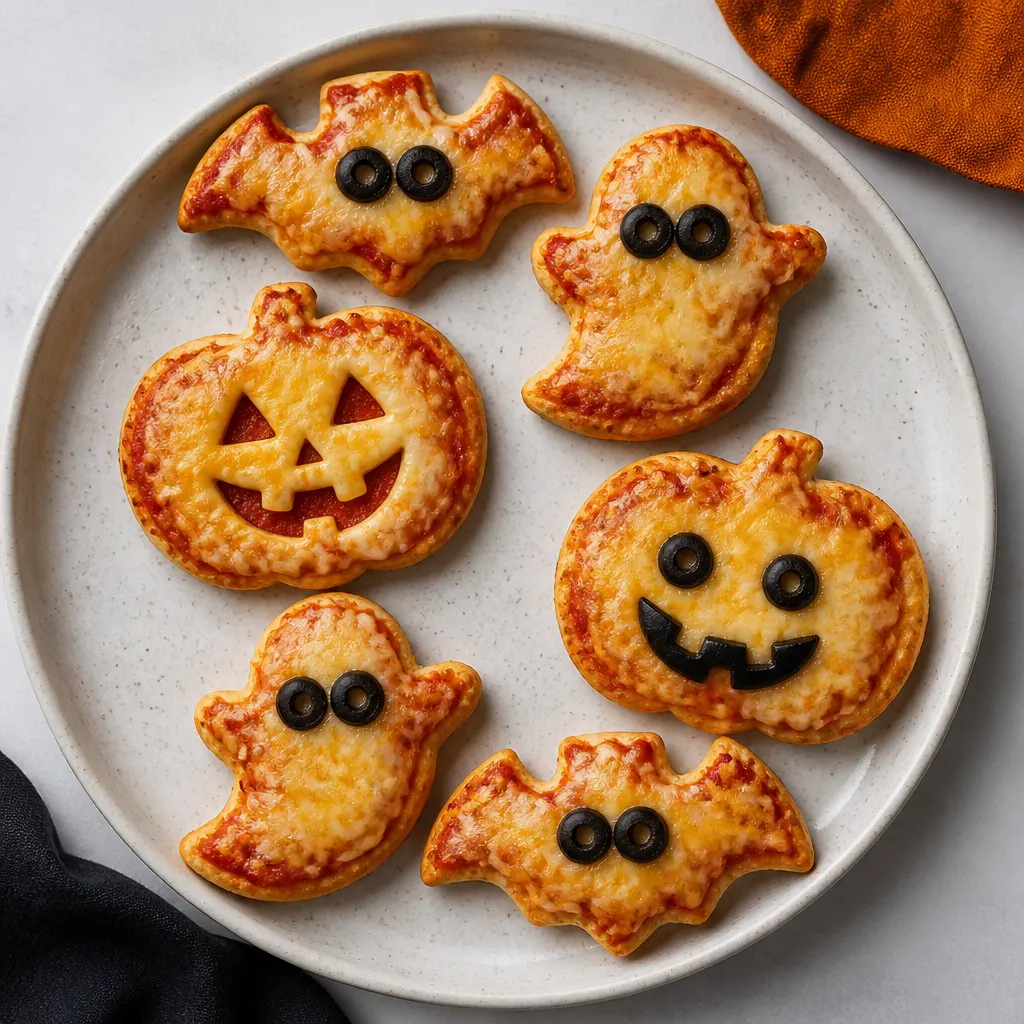
They come together fast and are perfect for a kid-friendly party: pre-bake the bases, press on the cheese faces, then finish in the oven. Prep is about 15 minutes and the oven work is brief, so they’re ideal for easy entertaining or a spooky snack platter.
Why You’ll Love This Recipe
Small, hands-on, and instantly festive — these mini pizzas deliver crisp edges, melty cheese faces, and simple, kid-friendly assembly. The key technique (baking the bases before adding cheese) keeps the jack-o’-lantern cutouts looking cute while still soft and gooey.
See the recipe card for full ingredient amounts and the step-by-step method. Note: nutrition information in the recipe card is an estimate and excludes pepperoni.
Ingredients You’ll Need
How to Make Mini Pizzas
- Preheat the oven to 375 degrees. Lightly spray a baking sheet with cooking spray or line it with parchment paper so the mini pizzas won’t stick.
- Roll out the pizza dough until flat. Using a round cookie cutter or a bowl slightly larger than your Halloween cutters, cut ten circles from the dough; re-roll any scraps and cut additional rounds until you have ten.
- Spread a thin layer of pizza sauce onto each dough circle—use a light hand so the crust can crisp during the quick bake. Add mini pepperoni now if you’re using it.
- Bake the sauced dough circles for 10 minutes, or until the edges have just started to brown. Do not add cheese during this bake step; the brief pre-bake creates a stable base.
- While the bases bake, use your Halloween cookie cutters to cut shapes from the mozzarella and Colby cheese slices—pumpkins, ghosts, or whatever faces you like.
- Remove the mini pizzas from the oven and lay the cheese cutouts onto each warm base. Press black olive slices into the cheese for eyes if desired.
- Return the pizzas to the oven for about 2 minutes, just until the cheese has softened and begun to melt but the cutout shapes are still recognizable. Remove from the oven and serve promptly.
Keep Cheese Shapes
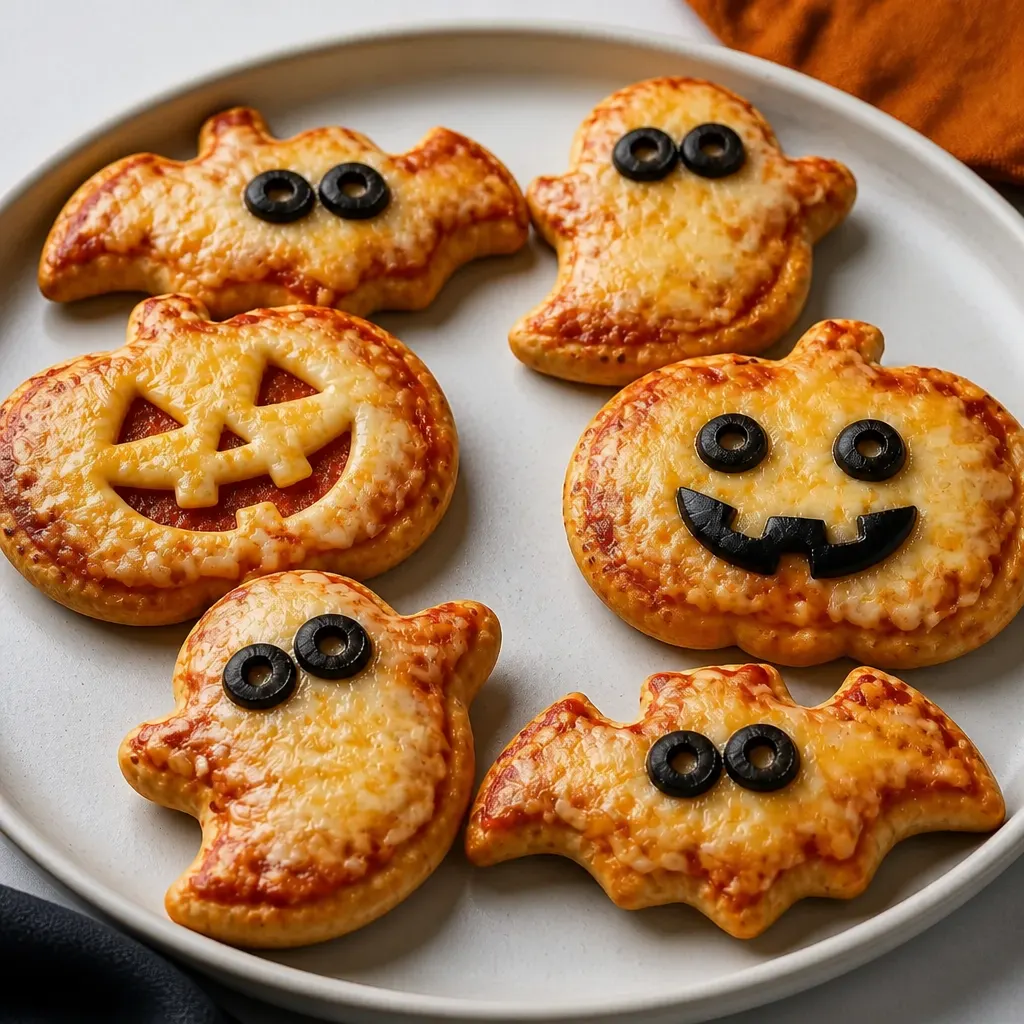
The single most important trick is timing: pre-bake the dough circles for the full 10 minutes, then place the cheese shapes on the hot bases and finish with a very short bake so the shapes stay defined.
Use firmer cheese slices (Colby or a slightly chilled mozzarella) for sharper edges when cutting shapes.
- Do not add cheese during the initial 10-minute bake.
- Chill cheese for a few minutes if it’s too soft to cut cleanly.
- Cut shapes slightly smaller than the dough circle to avoid cheese spillover.
Best Cookie Cutter Size
Aim for cookie cutters about 2 inches across — the recipe is sized to cut ten circles from one refrigerated roll of dough using that cutter size.
If your cutters are larger or smaller, adjust the number of mini pizzas and re-roll dough scraps to maximize yield.
- 2-inch cutters give bite-sized, party-perfect rounds.
- Use a slightly larger round to cut the dough circles, then the 2-inch Halloween cutters for cheese shapes if needed.
Make-Ahead & Reheat
You can prepare the sauced and pre-baked bases ahead of time: bake them for the initial 10 minutes, cool, then store in a single layer in the fridge for up to 24 hours.
When ready to serve, top with cheese cutouts and olives and finish in a 375°F oven for 2–3 minutes until the cheese softens.
- Store pre-baked bases in the fridge for up to 24 hours; avoid stacking to prevent soggy bottoms.
- To reheat previously assembled pizzas, use a hot oven (375°F) for a short burst so cheese melts without losing shape.
Tips for Perfect Results
Cheese timing: Add the cheese cutouts only after the bases are pre-baked; this brief final bake (about 2 minutes) melts the cheese without blurring the shapes.
Sauce amount: Use a thin layer of sauce so the tiny crusts can crisp — too much sauce makes the rounds soggy during the short bake.
Re-rolling scraps: Lightly flour your surface when re-rolling scraps to prevent sticking, but avoid overworking the dough to keep the edges tender and crisp.
Save This Recipe
Frequently Asked Questions
Ready to Make Your Own
These Halloween mini pizzas are quick, customizable, and built to look festive without fuss — perfect for little hands and last-minute parties.
Follow the recipe card for exact ingredient amounts and the step-by-step method, then have fun cutting faces and decorating with olives or pepperoni.
Halloween Mini Pizzas
Equipment
- Halloween cookie cuttersabout 2 inches across in size
Ingredients
- 13.8 ounces pizza dough one roll refrigerated, can also use homemade see notes
- 1 1/2 cups pizza sauce or any red pasta sauce
- 1/2 cup mini pepperoni optional
- 2 tablespoons black olives
- 6 slices mozzarella cheese
- 4 slices colby cheese
Instructions
- Preheat the oven to 375 degrees and lightly spray a baking sheet with cooking spray or line it with parchment paper.
- Roll out the pizza dough until flat, then use a round cookie cutter or a bowl slightly larger than your cutters to cut ten circles; re-roll any scrap dough as needed.
- Spread a thin layer of pizza sauce onto each dough circle and add mini pepperoni if desired.
- Bake the sauced dough for 10 minutes, or until the edges have just started to brown; do not add cheese yet.
- While the dough bakes, use cookie cutters to cut Halloween shapes from the mozzarella and Colby cheese slices.
- Remove the mini pizzas from the oven and place the cheese cutouts onto each pizza, then add black olives as eyes if desired.
- Return the pizzas to the oven and bake for about 2 minutes, until the cheese has just melted.